


Step-by-Step Tutorial for Ubuntu
Are you looking to install the Koha Library System on your Ubuntu server? Koha is a free, open-source integrated library management system widely used by libraries worldwide. In this guide, we’ll walk you through the complete Koha installation process on Ubuntu. Follow these simple steps to set up your library system smoothly.
Step 1: Update Your Ubuntu System
Before installing Koha, update your system’s package lists and upgrade installed packages by running:
sudo apt-get update
sudo apt-get upgrade
This ensures you have the latest versions of all software components.
Step 2: Add Koha Community Repository
To install Koha, you need to add its official repository:
echo deb http://debian.koha-community.org/koha stable main | sudo tee /etc/apt/sources.list.d/koha.list
Now, add the repository key:
wget -O- http://debian.koha-community.org/koha/gpg.asc | sudo apt-key add –
Step 3: Check for Updates
Run the following command to update the package lists:
sudo apt-get update
This ensures your system recognizes the newly added repository.
Step 4: Install Koha
Now, install the Koha library system:
sudo apt-get install koha-common
Press ‘Y’ when prompted and wait for the installation to complete.
Step 5: Configure Koha
Edit the configuration file to set your domain and port:
sudo gedit /etc/koha/koha-sites.conf
Modify the INTRAPORT value (e.g., INTRAPORT=”8001″) as required.
Step 6: Install MySQL
Koha requires a MySQL database. Install it using:
sudo apt-get install mysql-server
Create a MySQL user for Koha by referring to the MySQL User Management guide.
Step 7: Create a Koha Instance
Enable essential Apache modules:
sudo a2enmod rewrite
sudo a2enmod cgi
Restart Apache:
sudo service apache2 restart
Create a Koha instance:
sudo koha-create –create-db library
Replace library with your preferred instance name.
Step 8: Configure Apache Ports
Edit the ports configuration:
sudo gedit /etc/apache2/ports.conf
Add:
Listen 8001
Restart Apache to apply changes:
sudo systemctl restart apache2
Step 9: Enable Required Modules and Sites
Disable the default Apache site:
sudo a2dissite 000-default
Enable the deflate module and your Koha site:
sudo a2enmod deflate
sudo a2ensite library
Restart Apache and Memcached:
sudo systemctl restart apache2
sudo service memcached restart
Step 10: Retrieve Koha Credentials
Use this command to find your username and password:
sudo koha-passwd library
Alternatively, open the XML file:
sudo gedit /etc/koha/sites/library/koha-conf.xml
Search for login credentials within the file.
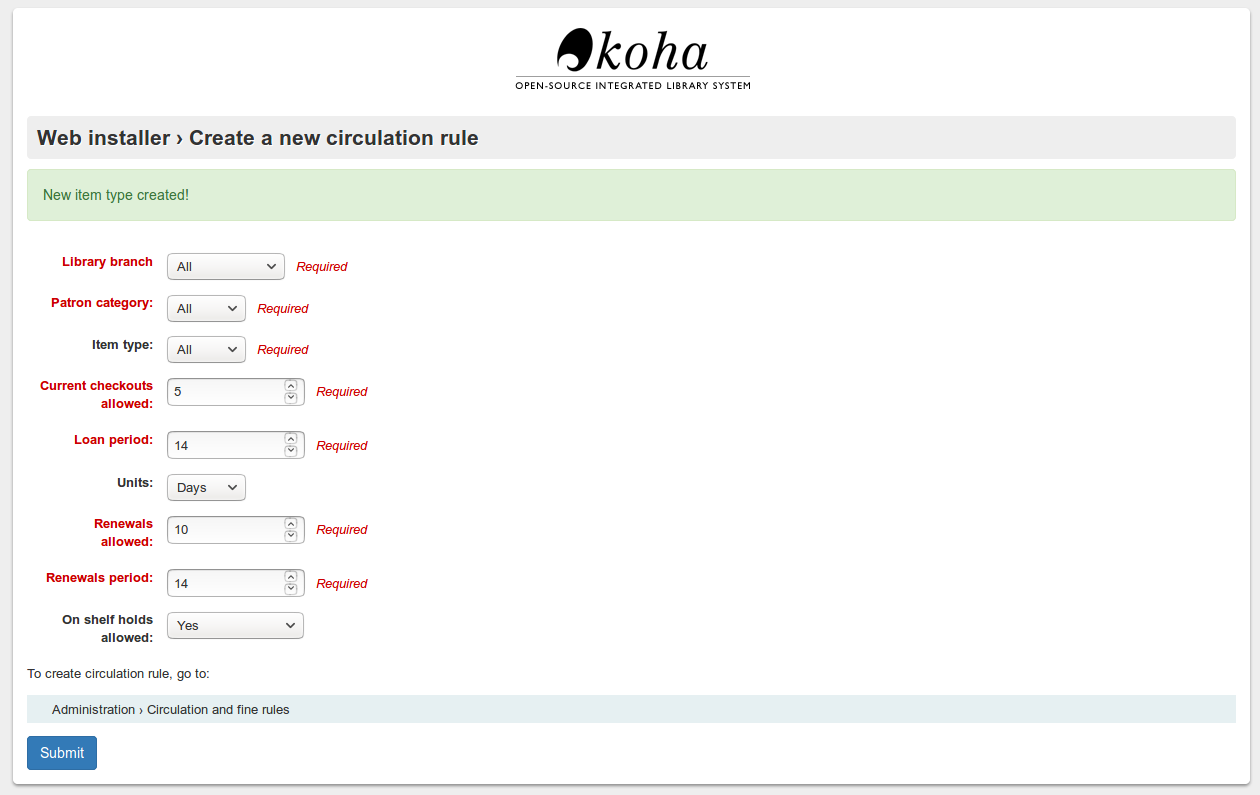
Step 11: Access Koha
Once everything is set up, open your browser and visit:
http://127.0.0.1:8001
You will be able to log in and start using Koha for library management.
Final Thoughts
This powerful library management system will streamline your library operations and improve accessibility. Start using Koha today and enhance your library’s efficiency!